
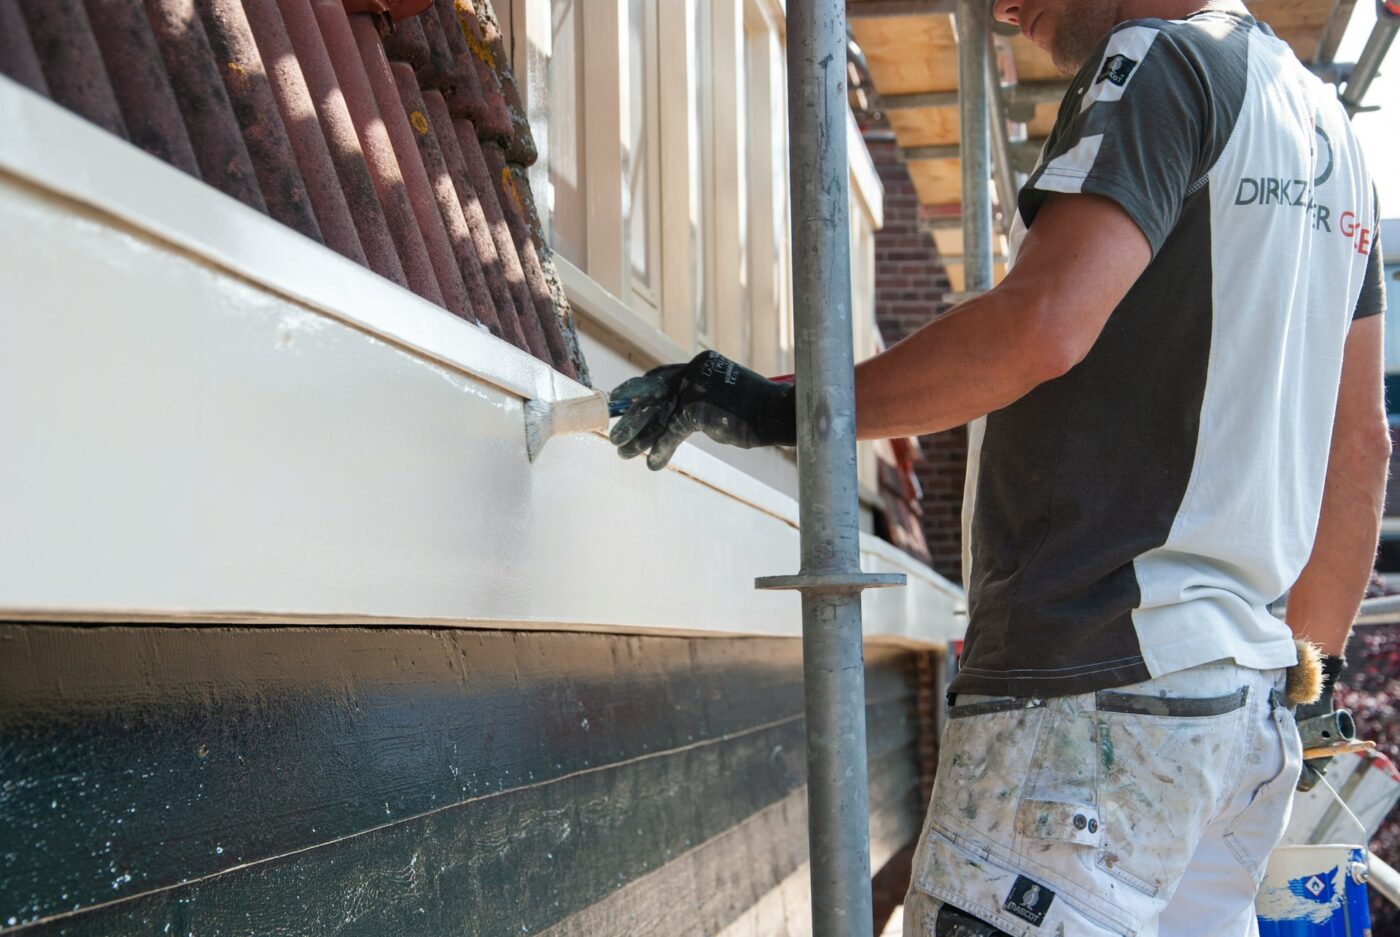
Commercial painting is often judged by the details people notice after the main walls are finished. Trim, doors, frames, railings, fascia, and other architectural details can make a property look polished and well maintained, or make an otherwise good paint job feel unfinished.
For exterior projects, exterior trim paint needs to do more than provide color. It should be appropriate for the surface, compatible with the existing coating, and applied over properly prepared material. On a commercial property, exterior trim is exposed to weather, dirt, moisture, and daily wear, making professional commercial painting services important for maintaining both appearance and protection.
For property owners and managers, professional trim painting is also about maintaining a professional appearance without creating unnecessary disruption. Pat Crowley Painting is positioned around quality workmanship, careful preparation, and professional service for residential, commercial, industrial, and multi-family projects.
Why Commercial Trim Painting Matters
Large wall surfaces usually get most of the attention during a commercial painting project, but trim provides much of the visual definition.
Think about the parts of a building that frame the larger surfaces:
- Window and door frames
- Fascia and soffits
- Exterior doors
- Railings
- Architectural trim
- Columns
- Wood or metal accents
- Other exposed detail surfaces
When these areas are faded, peeling, chipped, or unevenly painted, the entire property can look older than it actually is.
A fresh coat of paint can create sharper transitions between materials and make architectural features stand out. On commercial and industrial properties, exterior trim paint can help maintain a professional appearance while protecting exposed details from demanding conditions. An experienced industrial painting contractor can also account for the specific requirements of these environments.
But appearance is only part of the equation.
Trim often has more edges, corners, joints, and exposed surfaces than a broad wall. These areas can be more demanding to prepare and paint. If loose coating, dirt, moisture-related damage, or surface imperfections are ignored, the new coat may not perform as expected.
That is why professional trim painting should begin with the condition of the surface rather than simply choosing a color.
The Commercial Trim Painting Process
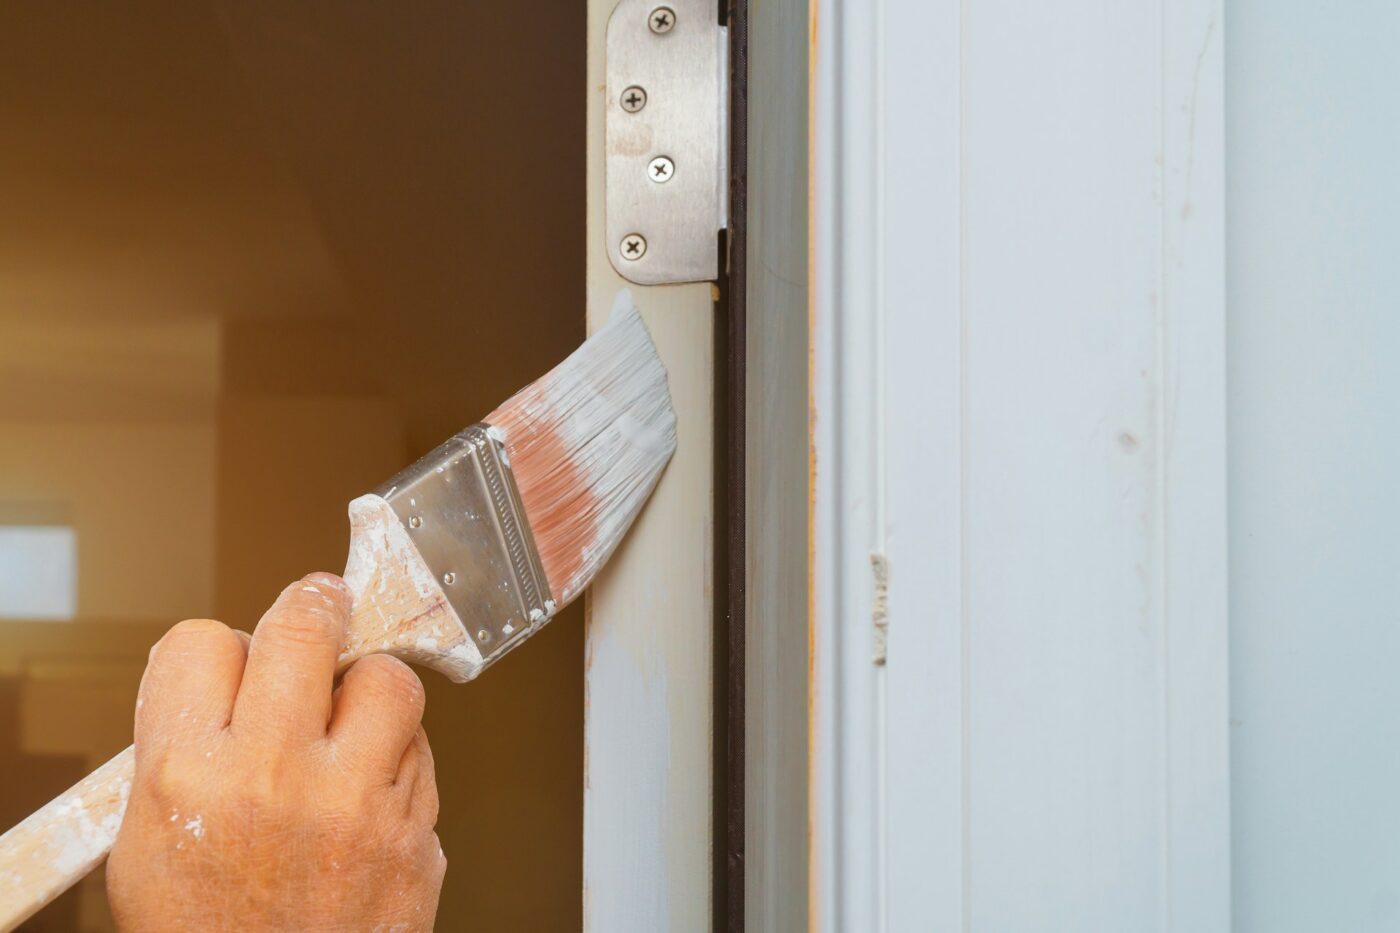
A quality commercial trim project is not simply a matter of brushing paint onto visible surfaces. The process should account for what is underneath the existing coating, what the material is made from, and how the finished area will be exposed to the outdoor environment.
1. Inspect the Existing Surface
Before selecting exterior trim paint, the painting team should inspect the condition of the trim.
Look for:
- Peeling or cracking paint
- Bare wood or exposed substrate
- Chalking
- Rust on metal
- Soft or deteriorated wood
- Failed caulking
- Water stains
- Gaps and damaged joints
- Previous repairs
- Areas with poor adhesion
This inspection helps determine whether the project needs simple cleaning and repainting or more extensive preparation.
For a commercial property, this step can also identify areas that may need attention before they become larger maintenance problems.
2. Identify the Surface Material
Not all trim should be treated the same way.
Wood, metal, composite materials, previously painted surfaces, and masonry can have different preparation and coating requirements. For example, exterior stucco painting requires consideration of the masonry surface and its existing condition before selecting a coating system. The paint products should be selected based on the surface and the conditions it will face.
For example, acrylic latex and water-based coatings may be appropriate for some applications, while oil-based paints, enamel, or other coating systems may be better suited to certain surfaces. The choice should follow the manufacturer’s instruction and the needs of the project.
This is one reason choosing a product simply because its label says “exterior” isn’t always enough.
3. Clean the Surface
Dirt and other contaminants can interfere with adhesion.
Commercial trim may collect dust, pollen, grease, mildew, and other surface contamination over time. These contaminants need to be removed before coating.
Depending on the material, surfaces may need to be thoroughly cleaned and allowed to dry before painting. The goal is to create a clean, sound surface without causing additional damage.
4. Remove Failing Paint
If the existing coating is loose or peeling, painting over it doesn’t solve the underlying problem.
Professional preparation may include scraping, sanding, feathering rough edges, and removing unsound material. Removing loose paint and preparing affected areas back to a sound surface can provide a better foundation for the new coating.
This is one of the less glamorous parts of painting, but it can have a major effect on the finished result.
5. Repair and Prime Where Needed
Small holes, cracks, exposed wood, and other imperfections may require repair before painting.
Bare areas may also require primer. Primer can improve adhesion and help create a more uniform finish, particularly where the existing surface has been repaired or the original substrate has been exposed.
For commercial properties, consistency matters. Spot repairs that are left unprimed can sometimes show through the finished coating as differences in color, sheen, or absorption.
How to Prepare Trim for Painting
Proper preparation is the foundation of a clean, durable trim finish. Before applying exterior trim paint, each surface should be inspected, cleaned, repaired, and prepared based on its condition and material.
| Step | What It Involves | Why It Matters |
| 1. Inspect | Check for peeling, cracking, rust, bare areas, moisture damage, and failed caulking. | Identifies problems that should be addressed before painting. |
| 2. Clean | Remove dirt, dust, grease, mildew, and other contaminants. | Helps the new coating adhere properly. |
| 3. Scrape | Remove loose, peeling, or failing paint. | Prevents unstable paint from affecting the new finish. |
| 4. Sand | Smooth rough edges and prepare glossy surfaces when appropriate. | Creates a more uniform surface and helps adhesion. |
| 5. Repair | Address cracks, holes, damaged wood, gaps, and other imperfections. | Helps prevent defects from showing through the finish. |
| 6. Prime | Prime bare, repaired, or otherwise appropriate areas. | Helps improve adhesion and coverage. |
| 7. Mask and Protect | Protect adjacent siding, glass, walls, landscaping, and fixtures. | Helps create cleaner lines and prevents accidental paint damage. |
| 8. Check Conditions | Confirm that temperature and weather conditions are suitable. | Helps the coating dry and perform properly. |
This preparation may take more time than the actual application, but skipping it can create problems that become visible later.
Techniques for a Clean Trim Finish
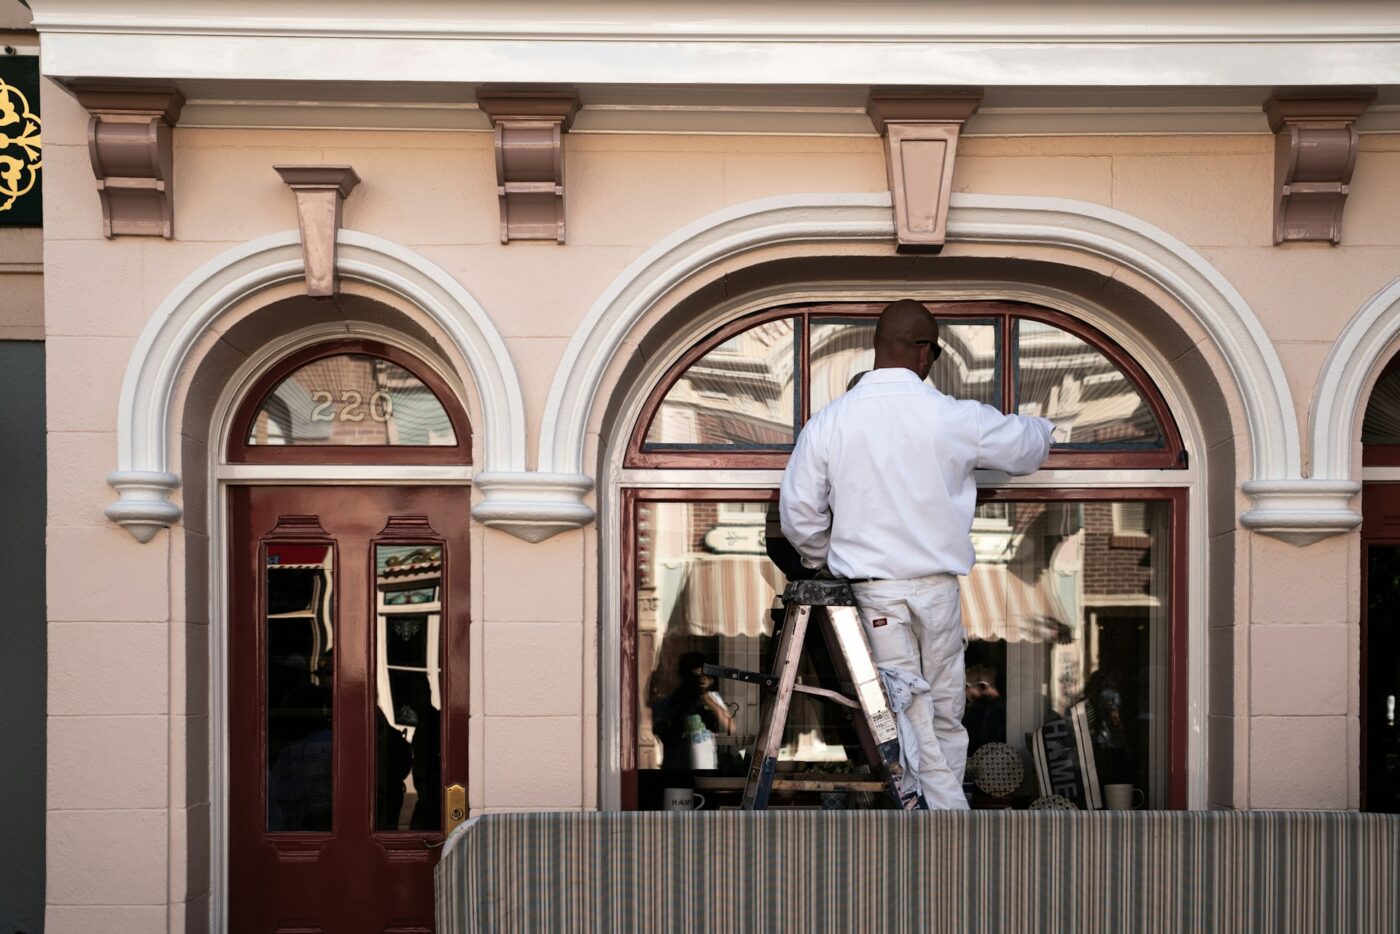
Once the surface is properly prepared, careful application helps create the sharp, consistent finish commercial properties need. Professional techniques also help minimize drips, uneven coverage, visible brush marks, and paint on surrounding surfaces.
1. Use the Right Tools
Trim often requires a quality brush designed for controlled application, along with a roller or other equipment where appropriate.
The goal isn’t simply to apply enough paint. It is to achieve even coverage while minimizing:
- Drips
- Runs
- Brush marks
- Lap marks
- Uneven sheen
- Heavy buildup on corners
- Paint on adjacent surfaces
For trim, controlled application is particularly important because imperfections are easier to see on narrow surfaces and sharp edges.
2. Maintain Consistent Coverage
Professional painters generally work in manageable sections rather than allowing large areas to partially dry before they are blended.
The exact technique depends on the product, surface, temperature, and project conditions. Manufacturer instructions should guide application, recoat times, and film thickness.
For detail work, consistency is more important than simply moving quickly.
3. Pay Attention to Edges and Transitions
Trim creates visual boundaries.
A slightly uneven line around a door or window can be noticeable from across a room or parking area. Clean transitions are therefore an important part of professional commercial painting.
The same principle applies when different colors or finishes meet, particularly with door and trim areas.
4. Allow Enough Drying Time
A coating may feel dry before it has fully cured.
Commercial projects sometimes operate under tight schedules, but rushing between coats or exposing a newly painted surface to conditions it isn’t ready for can compromise the result.
A professional schedule should account for the product’s required drying and recoat times, including temperature fluctuations, rather than assuming every coating behaves the same way.
Choosing the Right Exterior Trim Paint

Choosing exterior trim paint isn’t simply about picking the color that looks best on a sample. The same considerations that apply to exterior house painting—surface condition, existing coatings, exposure, and desired durability—can also influence the right trim coating.
The coating should be appropriate for:
- The surface material
- Existing coating
- Exterior exposure
- Expected traffic or contact
- Desired appearance
- Maintenance requirements
- Compatibility with primers and previous coatings
Depending on the project, satin, semi-gloss, or other finishes may be considered. A higher sheen can help highlight architectural details, while a lower sheen may create a softer appearance.
The right exterior paint should balance appearance, surface condition, durability, and maintenance. A premium coating may also be worth considering when the project calls for added durability or specific performance characteristics.
Don’t Choose by Color Alone
Commercial buildings also have branding and architectural considerations.
Trim can be used to:
- Reinforce brand colors
- Highlight entrances
- Create contrast
- Coordinate with siding or masonry
- Refresh an older property
- Make architectural details more visible
A professional contractor can help evaluate how the selected color, shade, and finish will work with the existing building rather than treating trim as an isolated element. Understanding what affects exterior painting costs can also help property owners account for preparation, materials, access, and the overall project scope.
For example, a dull or heavily weathered surface may need more preparation before a dramatic color change can produce the intended result.
Why Hire a Professional Painter?
Commercial painting has different demands from a small residential touch-up.
A business owner or property manager may be coordinating employees, tenants, customers, vendors, and other contractors while the work is happening. For apartment communities and other multi-unit properties, working with a multi-family painting contractor can also help keep finishes consistent across multiple buildings or units.
Professional commercial painting can help address several of those concerns.
Better Preparation
Experienced painters understand that a durable finish starts with surface preparation. They can identify failing coatings and determine where additional work may be needed before application.
Consistent Results
Commercial properties often have many repeated elements, such as windows, doors, offices, units, or exterior trim sections. Consistency becomes especially important when multiple areas are being painted.
Cleaner Detail Work
Trim requires control and attention to edges. Professional application can help produce cleaner transitions and a more finished appearance.
Better Project Coordination
For property managers and commercial clients, communication matters almost as much as the paint itself. A professional contractor should make the scope, schedule, preparation requirements, and project expectations clear.
Pat Crowley Painting’s business information identifies commercial and industrial projects and multi-family/ADU work among its services. Its positioning focuses on quality, longevity, professionalism, and reduced project stress rather than competing primarily on price.
For commercial properties, that distinction matters. You’re not only paying for a coating. You’re paying for the preparation, labor, project coordination, and attention to detail required to finish the property properly.
FAQs
What is exterior trim paint?
Exterior trim paint is formulated for exterior detail surfaces such as window frames, doors, fascia, and other trim. The right product depends on the surface, existing coating, and exposure.
Should commercial trim be primed before painting?
Not always. Sound surfaces may only need proper cleaning and preparation, while bare, repaired, or damaged areas may require primer for better adhesion and coverage.
What surfaces can exterior trim paint be used on?
It depends on the product. Wood, metal, composite, and other materials can require different preparation and coating systems, so the surface should be assessed first.
Is high-gloss paint always best for trim?
No. Glossy, satin, and other finishes can work. The best choice depends on the surface condition, desired appearance, durability, and maintenance needs.
How long does commercial trim painting take?
There is no standard timeline. Property size, surface preparation, weather, access, number of coats, and drying time can all affect the schedule.
Can commercial trim be painted without repainting the entire building?
Yes. If the main walls are still in good condition, targeted trim painting can refresh worn or faded details without repainting the entire property.
Give Your Commercial Property a Clean, Professional Finish
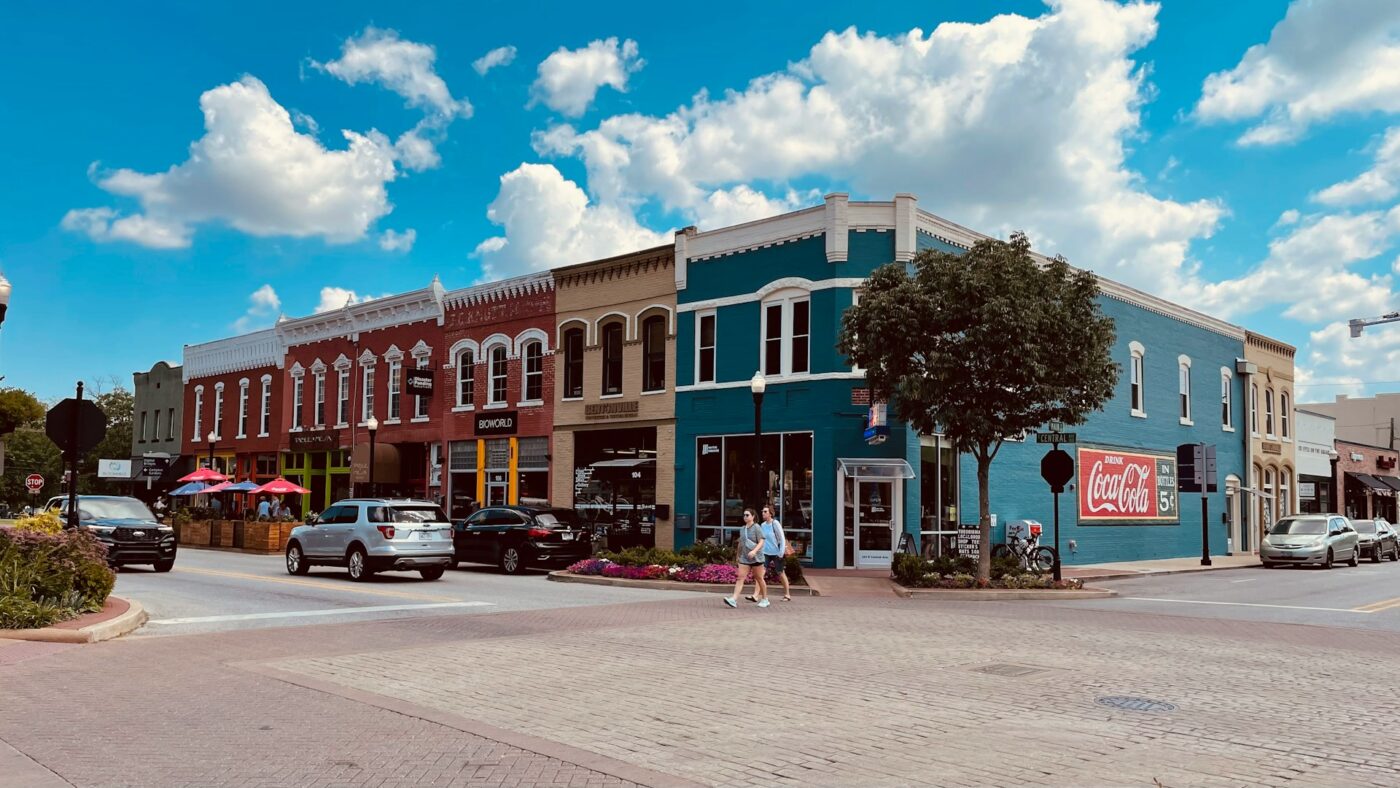
Well-maintained trim can make a commercial property look cleaner, more polished, and better cared for. If faded, peeling, or worn trim is taking away from your building’s appearance, a professional repaint can give those details a fresh, finished look without necessarily requiring a full building repaint.
Pat Crowley Painting can assess your commercial property, identify the areas that need attention, and recommend the right preparation and exterior trim paint for the project, including painting services in Monterey County and surrounding Central Coast communities. The company serves commercial clients as part of its broader painting and finishing services, with a focus on quality workmanship, careful preparation, and professional service.
Ready to improve the look of your commercial property? Contact Pat Crowley Painting to discuss your trim and detail painting project and request a consultation.